Teaching how to find the sum of positive and negative integers can be a tough concept for students to understand. So, here is a method I used when teaching Jr. High Math that worked. This was a great visual to set the foundation of the rules of adding & subtracting integers. Most teachers will just have their students memorize the rules, but this method allows students to see WHY the answer is positive or negative.
Some phrases I use all the time when teaching this is:
"If the signs are DIFFERENT, find the DIFFERENCE!.... taking the sign of the bigger number"
"If the signs are the SAME, you find out how many negative/positives you have ALL TOGETHER by adding them"
Here is a game that can be used to review/teach integers:
Materials Needed:
Different colored dice
Optional Double-Sided Counters
Cards labeled with numbers -5 through 5.
Copy of "Lucky Numbers" page.
(click to enlarge)
From The Teacher's Mailbox book "Sensational Centers"
This game is originally to roll the dice and practice adding numbers. I changed it to be used for both positive and negative integers.
You can make your own easily or just have them use a piece of paper.
and small whiteboards.
HOW TO PLAY:
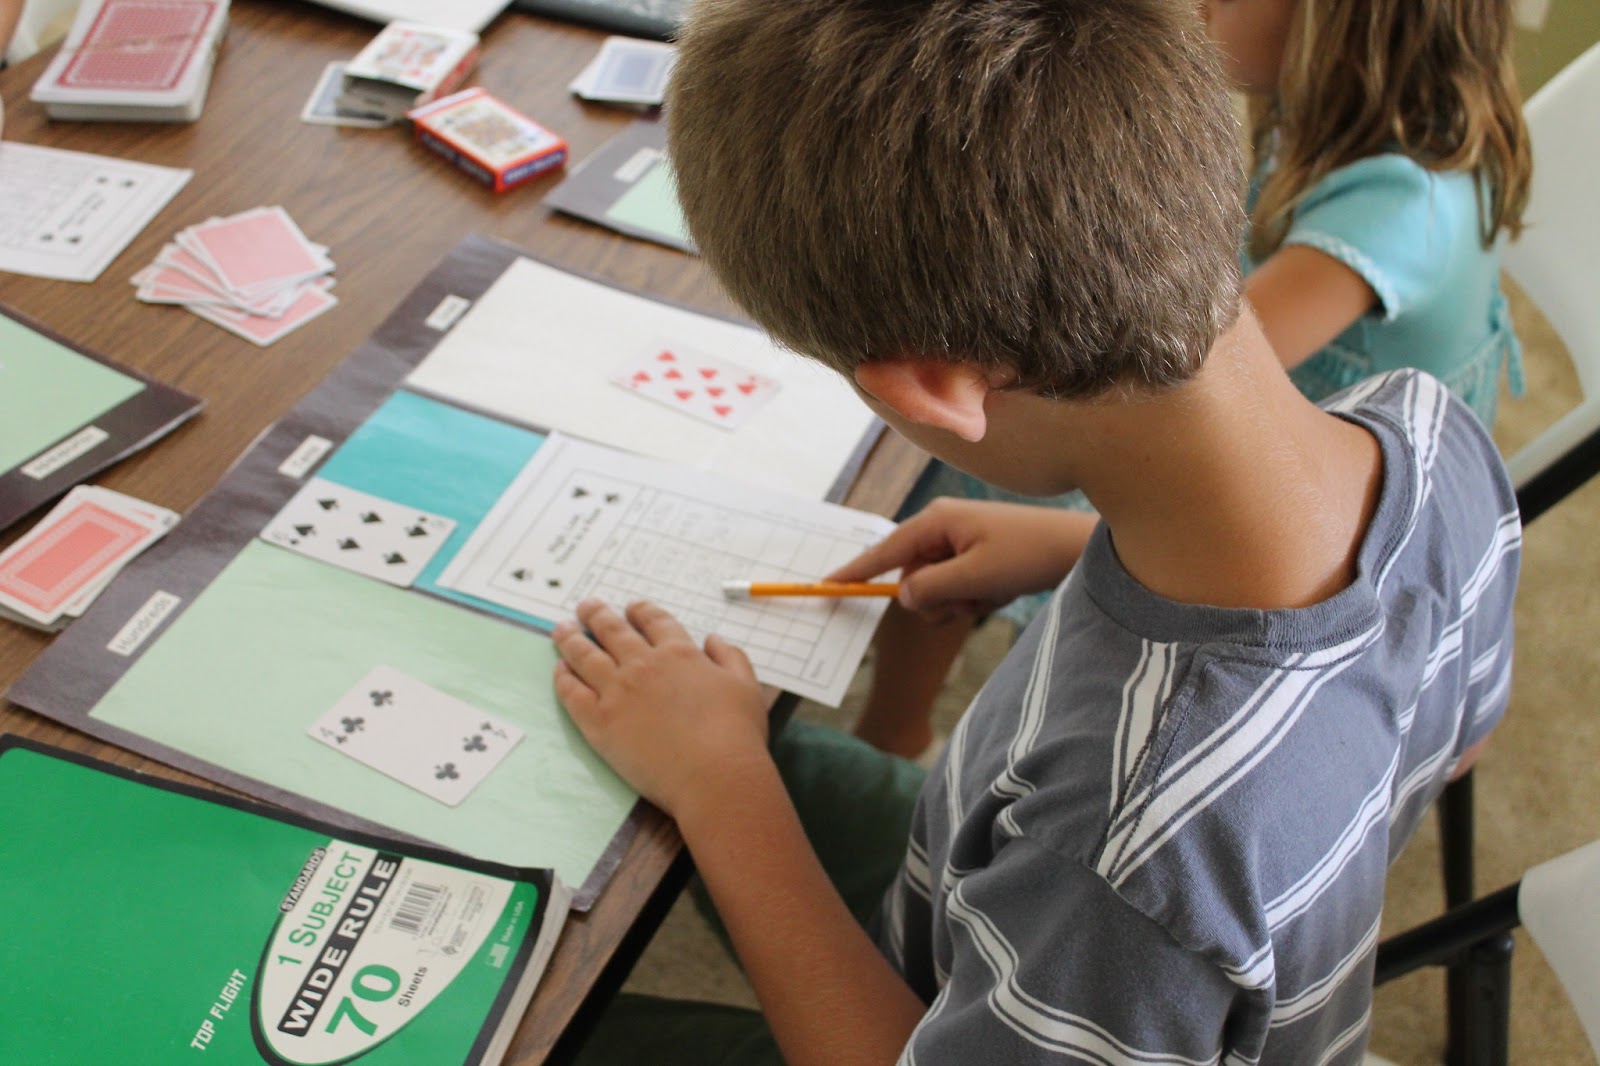
Put these cards face down in a pile. Each player takes a turn drawing three cards from the pile and writes them in the lucky numbers boxes on the top of their paper. These are their lucky numbers.
Then, each player get a set of dice: one red, one white.
The red die represents negative numbers
The white die represents positive numbers
The players can write their numbers on a whiteboard
Next, using the counters you can make a model to represent the problem.
One red counter under the negative one. Five white counters under the positive 5.
Then, you match up the positive and negative counters to see what's left.
"Opposites attract right?" :)
Then, after you match them up you see what's left. Four positives! That's your answer.
If the kids are seeing that as a plus five instead of a positive five, have them put a circle around the negative one and another circle around the positive five to establish that they are two separate integers: -1 and +5.
Kids then record this on their paper. Is +4 one of their lucky three cards they drew earlier? You write YES or NO in the box.
Now for another example
You rolled a -6 and +2.
Put your counters.
Match up the positive and negatives.
What's left?
4 negatives.
Answer is -4.
Don't have double sided counters? No problem.
Just do this instead:
My students loved playing this game and using this visual method to help form a foundation of understanding how to find the difference between positive and negative integers.
**Side note: If you use this method and you have two negative integers, for example: a -5 and -4. You would have all red counters or negatives drawn. There aren't any positive or white counters to match them to. So you combine all the red counters (or negatives) to find out how many you have all together. So you have 9 negatives so the answer is -9.**
Pin It Now!

Teaching how to find the sum of positive and negative integers can be a tough concept for students to understand. So, here is a method I used when teaching Jr. High Math that worked. This was a great visual to set the foundation of the rules of adding & subtracting integers. Most teachers will just have their students memorize the rules, but this method allows students to see WHY the answer is positive or negative.
Some phrases I use all the time when teaching this is:
"If the signs are DIFFERENT, find the DIFFERENCE!.... taking the sign of the bigger number"
"If the signs are the SAME, you find out how many negative/positives you have ALL TOGETHER by adding them"
Here is a game that can be used to review/teach integers:
Materials Needed:
Different colored dice
Optional Double-Sided Counters
Cards labeled with numbers -5 through 5.
Copy of "Lucky Numbers" page.
(click to enlarge)
From The Teacher's Mailbox book "Sensational Centers"
This game is originally to roll the dice and practice adding numbers. I changed it to be used for both positive and negative integers.
You can make your own easily or just have them use a piece of paper.
and small whiteboards.
HOW TO PLAY:
Put these cards face down in a pile. Each player takes a turn drawing three cards from the pile and writes them in the lucky numbers boxes on the top of their paper. These are their lucky numbers.
Then, each player get a set of dice: one red, one white.
The red die represents negative numbers
The white die represents positive numbers
The players can write their numbers on a whiteboard
Next, using the counters you can make a model to represent the problem.
One red counter under the negative one. Five white counters under the positive 5.
Then, you match up the positive and negative counters to see what's left.
"Opposites attract right?" :)
Then, after you match them up you see what's left. Four positives! That's your answer.
If the kids are seeing that as a plus five instead of a positive five, have them put a circle around the negative one and another circle around the positive five to establish that they are two separate integers: -1 and +5.
Kids then record this on their paper. Is +4 one of their lucky three cards they drew earlier? You write YES or NO in the box.
Now for another example
You rolled a -6 and +2.
Put your counters.
Match up the positive and negatives.
What's left?
4 negatives.
Answer is -4.
Don't have double sided counters? No problem.
Just do this instead:
My students loved playing this game and using this visual method to help form a foundation of understanding how to find the difference between positive and negative integers.
**Side note: If you use this method and you have two negative integers, for example: a -5 and -4. You would have all red counters or negatives drawn. There aren't any positive or white counters to match them to. So you combine all the red counters (or negatives) to find out how many you have all together. So you have 9 negatives so the answer is -9.**