love. love. LOVE this activity!!
Such a fun way to get 4 personal progress experiences signed off in ONE night!!
What I did was looked at all the master personal progress sheets and the personal progress charts online to see what common experiences were not passed off by the YW in my ward. I tried to pick one for each value. Divine Nature is hard, because a lot of those experiences need two weeks to pass off. I picked the experience then found a presenter that is NOT in YW to teach that class the night of the Personal Progress Marathon. The girls would then sign up for the 4 classes, based on their personal need. Then, I made schedules for all of them to attend their classes and get the 4 experiences passed off!
This takes a lot of planning, but it is SO worth it!
**I linked all my word documents. You will of course have to edit them to fit your needs. But, figured it's better than starting from scratch!! Just make sure you download the documents as a "doc" so you can edit it in Microsoft Word.**
HOW DO YOU GET STARTED?
Look through your YW personal progress charts to see which experiences a lot of them haven't passed off yet. Try to pick one for each value. Divine Nature is hard, so I had an "optional experience". After coming up with the classes, find your presenters for the classes. Tell them about the activity and give them the class information sheet (see below each value for the sheet for each class) If you download and use my sheets, you will have to modify them for your needs- dates, names, etc....
This is an example of what the informational sheets look like:
I've held a Personal Progress Marathon twice now.
Here are the ideas for the classes I've organized so far:
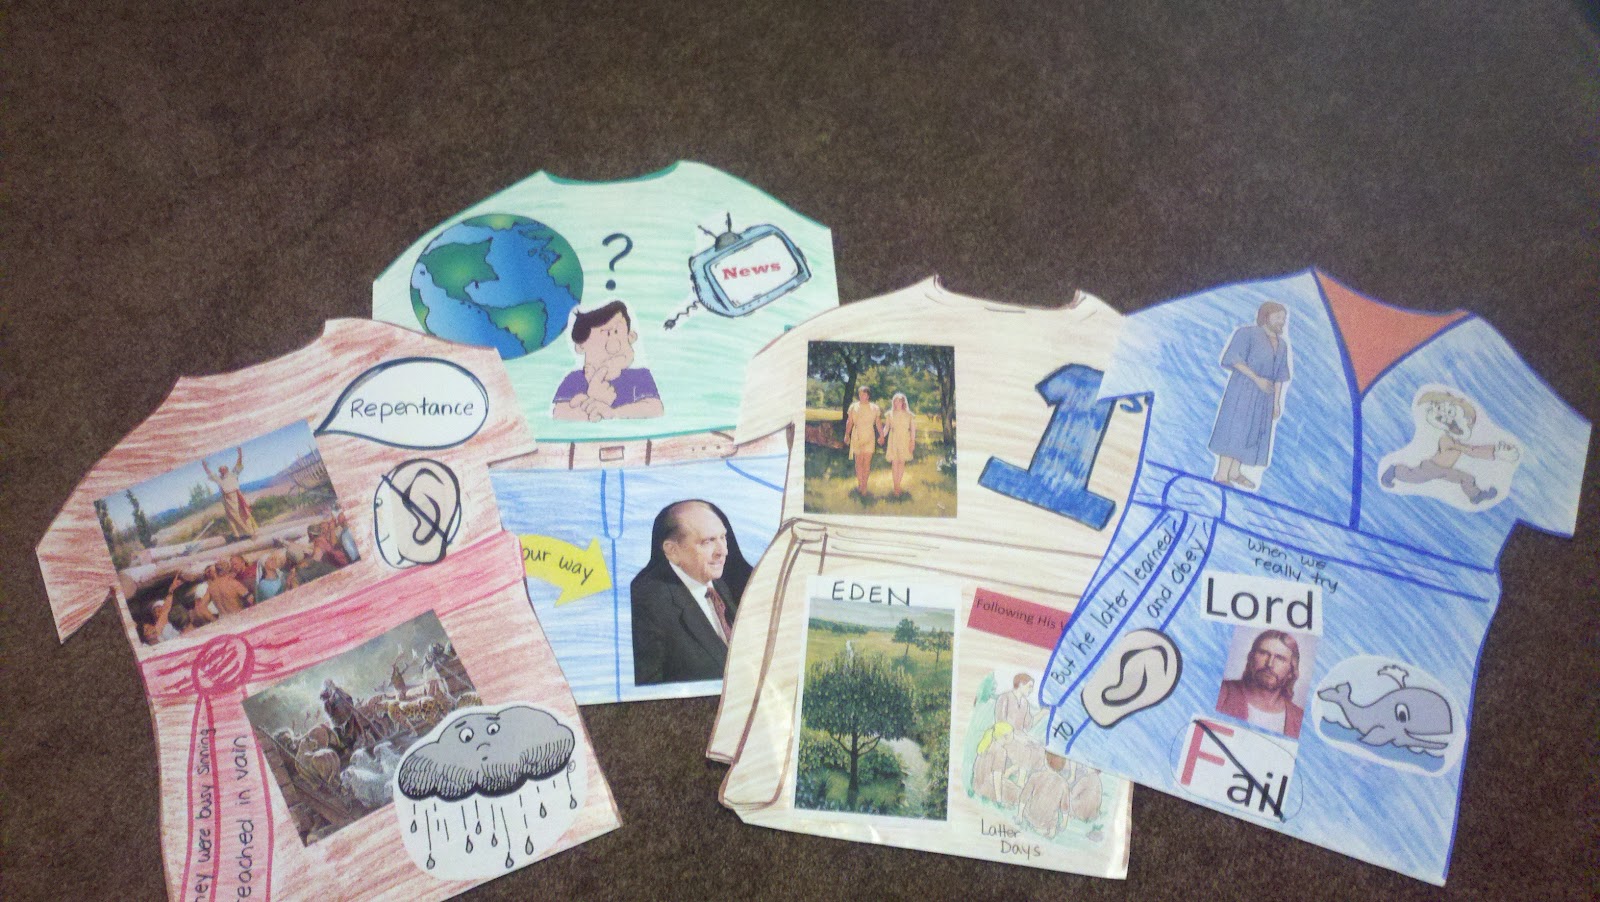
Faith #6- Plan of Salvation- craft or drawing
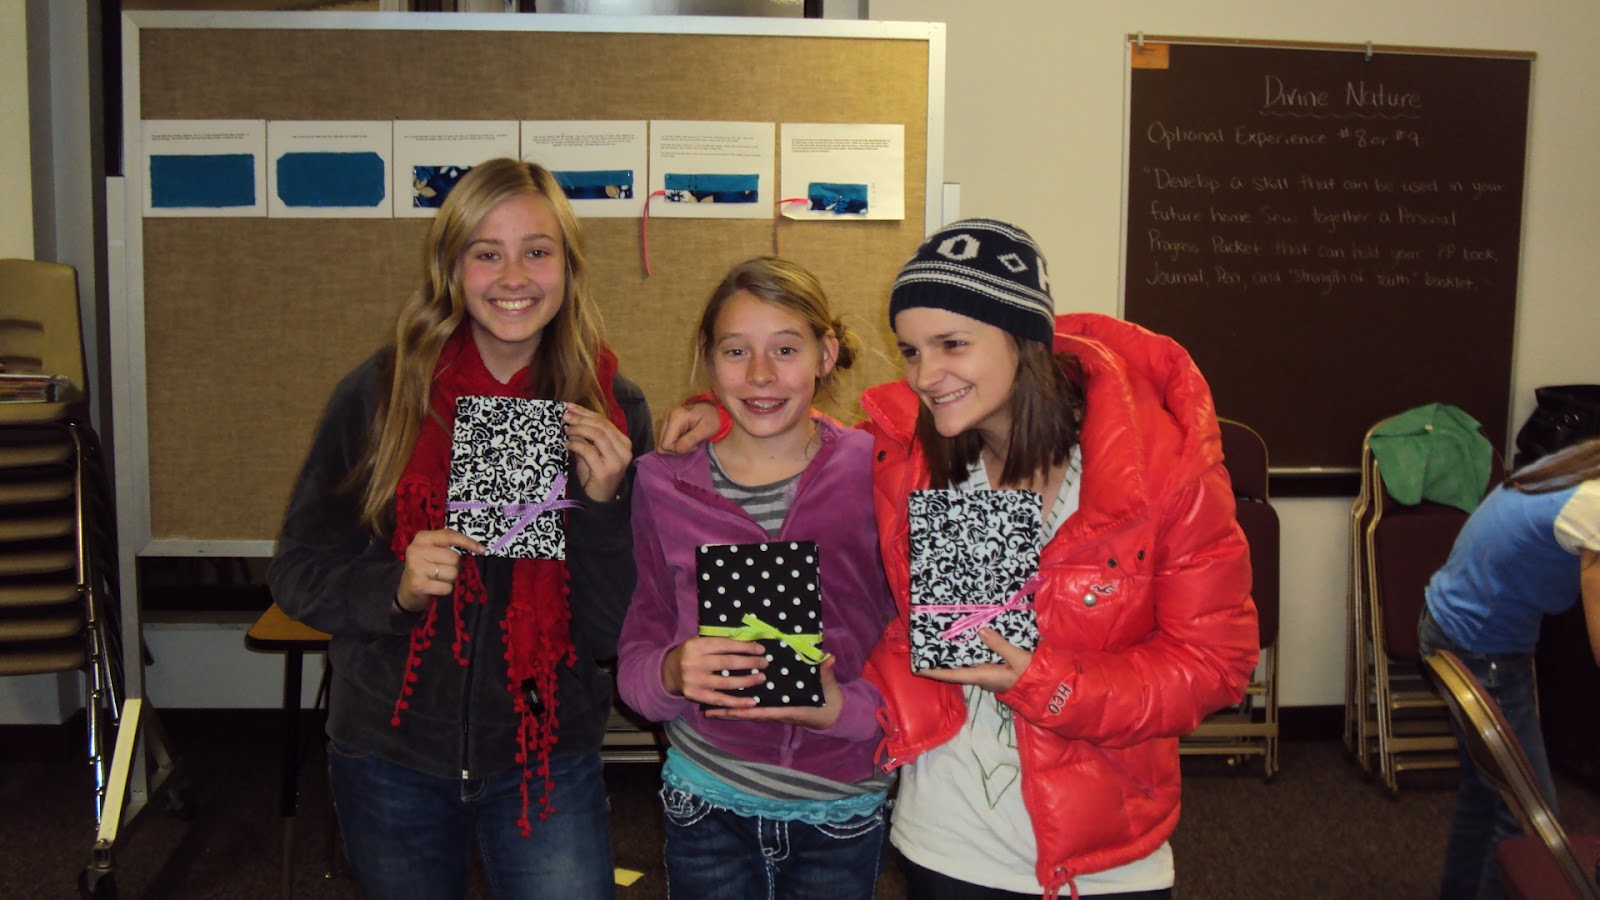
*Note: ALL my girls wanted to make these. So we had a "Day 2" of the Personal Progress Marathon. Where for mutual they all made these! Worked out perfect, cuz they were ALL able to finish them in one night!*
{Inside of packet. This is mine. :) I've been serving in YW for quite awhile. So, instead of getting a new pink Personal Progress Journal when the pink books came out, I just kept my purple one. The youth have the True to the Faith book and Strength of Youth booklet in their middle section.}
There are TONS of great tutorials out there for these. Just google "Personal Progress Packets". Prepare to be amazed. :)
Individual Worth #7- On Positive Qualities. *I had the Laurel teach this one for hours for their Honor Bee*
{They did the cutest thing with this value. See the 2nd page of the link to see where they got the idea.}
Knowledge #7- Review First Aid. Have a nurse from the ward come to teach this!
{ You can order the YW Theme posters for FREE from the distribution center. You can do that and have them highlight and mark different parts as you go over them. Or just give it as a handout! I had a member of the Stake YW Presidency teach this one.}
Virtue #2- Holy Ghost {girls need to read the scriptures for this experience BEFORE this class}
Virtue #3- Temple Worthiness {girls need to read Alma 5 BEFORE this class}
YW SIGN UP:
First, I come up with the classes. Then, I make up a sign up sheet.
After the girls sign up for their classes, I made and used this spreadsheet to help me figure out their schedules and when the classes needed to be available. That way I could then tell the speakers (a) how many classes they would teach & what time (b) how many girls were in their class so they knew how many handouts to make.
Then, after I've got all this dialed in, I give the presenters this sheet {see below}.
This tells them (a) what time their classes are & how many (b) their classroom number (c) number and name of girls that will be in their class.
You will of course edit it for your class times and girls names. I just take the class schedule at the top of the above spreadsheet and copy and paste it to all these sheets for the presenters and highlight their class times etc...
YW SCHEDULES:
Next, you type up the YW schedules they will take with them from class to class. I made a spot for all the presenters to sign or initial next to their class. This way I know they actually attended the class and didn't ditch {yes... the teacher in me has come out! :)}
*The "d"s that show up on the file are where the flowers are on mine. Unless you have the font I used downloaded on your computer. :)*
Edit the schedules to look how you want!
REMINDERS FOR THE BIG NIGHT:
SET UP:
In one ward I served we had a tablecloth for every value color so I put those on the tables in the room.
I set up the chairs depending on how many girls signed up for the class. Didn't want them looking for chairs since they only have 25 minutes in each class.
In one ward I taped all their schedules to a chalkboard in the hall. We put their name tags on the chalk tray {they wore name tags so the presenters knew who they were}. When they came they picked up their schedule and name tag and went to their first class.

The Girls Had FUN Passing Off Personal Progress!!
Pin It Now!

love. love. LOVE this activity!!
Such a fun way to get 4 personal progress experiences signed off in ONE night!!
What I did was looked at all the master personal progress sheets and the personal progress charts online to see what common experiences were not passed off by the YW in my ward. I tried to pick one for each value. Divine Nature is hard, because a lot of those experiences need two weeks to pass off. I picked the experience then found a presenter that is NOT in YW to teach that class the night of the Personal Progress Marathon. The girls would then sign up for the 4 classes, based on their personal need. Then, I made schedules for all of them to attend their classes and get the 4 experiences passed off!
This takes a lot of planning, but it is SO worth it!
**I linked all my word documents. You will of course have to edit them to fit your needs. But, figured it's better than starting from scratch!! Just make sure you download the documents as a "doc" so you can edit it in Microsoft Word.**
HOW DO YOU GET STARTED?
Look through your YW personal progress charts to see which experiences a lot of them haven't passed off yet. Try to pick one for each value. Divine Nature is hard, so I had an "optional experience". After coming up with the classes, find your presenters for the classes. Tell them about the activity and give them the class information sheet (see below each value for the sheet for each class) If you download and use my sheets, you will have to modify them for your needs- dates, names, etc....
This is an example of what the informational sheets look like:
I've held a Personal Progress Marathon twice now.
Here are the ideas for the classes I've organized so far:
Faith #6- Plan of Salvation- craft or drawing
*Note: ALL my girls wanted to make these. So we had a "Day 2" of the Personal Progress Marathon. Where for mutual they all made these! Worked out perfect, cuz they were ALL able to finish them in one night!*
{Inside of packet. This is mine. :) I've been serving in YW for quite awhile. So, instead of getting a new pink Personal Progress Journal when the pink books came out, I just kept my purple one. The youth have the True to the Faith book and Strength of Youth booklet in their middle section.}
There are TONS of great tutorials out there for these. Just google "Personal Progress Packets". Prepare to be amazed. :)
Individual Worth #7- On Positive Qualities. *I had the Laurel teach this one for hours for their Honor Bee*
{They did the cutest thing with this value. See the 2nd page of the link to see where they got the idea.}
Knowledge #7- Review First Aid. Have a nurse from the ward come to teach this!
{ You can order the YW Theme posters for FREE from the distribution center. You can do that and have them highlight and mark different parts as you go over them. Or just give it as a handout! I had a member of the Stake YW Presidency teach this one.}
Virtue #2- Holy Ghost {girls need to read the scriptures for this experience BEFORE this class}
Virtue #3- Temple Worthiness {girls need to read Alma 5 BEFORE this class}
YW SIGN UP:
First, I come up with the classes. Then, I make up a sign up sheet.
After the girls sign up for their classes, I made and used this spreadsheet to help me figure out their schedules and when the classes needed to be available. That way I could then tell the speakers (a) how many classes they would teach & what time (b) how many girls were in their class so they knew how many handouts to make.
Then, after I've got all this dialed in, I give the presenters this sheet {see below}.
This tells them (a) what time their classes are & how many (b) their classroom number (c) number and name of girls that will be in their class.
You will of course edit it for your class times and girls names. I just take the class schedule at the top of the above spreadsheet and copy and paste it to all these sheets for the presenters and highlight their class times etc...
YW SCHEDULES:
Next, you type up the YW schedules they will take with them from class to class. I made a spot for all the presenters to sign or initial next to their class. This way I know they actually attended the class and didn't ditch {yes... the teacher in me has come out! :)}
*The "d"s that show up on the file are where the flowers are on mine. Unless you have the font I used downloaded on your computer. :)*
Edit the schedules to look how you want!
REMINDERS FOR THE BIG NIGHT:
SET UP:
In one ward I served we had a tablecloth for every value color so I put those on the tables in the room.
I set up the chairs depending on how many girls signed up for the class. Didn't want them looking for chairs since they only have 25 minutes in each class.
In one ward I taped all their schedules to a chalkboard in the hall. We put their name tags on the chalk tray {they wore name tags so the presenters knew who they were}. When they came they picked up their schedule and name tag and went to their first class.
The Girls Had FUN Passing Off Personal Progress!!

.jpg)
.jpg)
.jpg)
.jpg)
.jpg)






.jpg)


