Saturday, December 29, 2012

Math INBs


What is an INB?
INB stands for Interactive NoteBook
What are they?  They are just that.  An interactive notebook. :)
When I taught Jr. High we used these.  They were a huge success!  My students who don't normally take Math notes, took them!  I taught both Math and Reading.  So, my students had a Math INB and a Reading INB.  I would have my students set them up on the first few days of school.  4 pages of Table of Contents. And then they number the front and back of EVERY page.  Then, we are ready for the year.  I had a printout to glue on the cover.  If they decorated it, it was extra credit.  And then the students kept them in storage size baggie in their backpacks.  My experience with students using these is that they really take ownership of them and become quiet possessive of them.
In the Math INB, we would take notes.  We had a table of contents at the beginning.  So, every day before we began Math Notes, my students would go to the next available page in their notebook.  See what page number was next.  Then, they would go to the table of contents, put the page number, date, and note section {such as 9.4 Surface Area of a Square Pyramid etc...}
Then, when they were studying for a test or referring to their notes during homework it was EASY to find.  I would collect the student's Math INBs at the end of each Chapter and give them quick participation points if they had their math notes.  I rarely had any students not take notes because of these INBs.  
In the Reading INB, we would do their vocabulary, novel studies, etc....  Any worksheets I handed out were cut and glued into the INB {no lost papers!!}.  Glue sticks work best.  Don't recommend the bottle glue... huge mess and not a flat surface to write on.

And what an easy cost at the beginning of the the year.  A single subject notebook.  That's it.  
10 cents at Target.  Done.
 My favorite unit to teach in the INBs were the surface area and volume chapters.
My students loved gluing in the nets of these shapes and hands on folding the shapes as they try to configure the Surface Area.  How easy is it to tell the difference between the slant height and height of the square pyramid when you can actually see it!


Pin It!

LDS Quiet Books


DIY Quiet Books!
So, these are what I made for the cousin gifts this year.
Lot of work, but well worth it.
Most of the work was trying to find ones talented people already made and all I had to do was download and print!  So here is a compiled list of all the ones I used.

I bought my photo books from Dollar Tree.  I like these ones {better than wal-marts} because you can fit 48 photos in these books.  Wal-Mart's you can only fit 24.  And because I bought the bigger ones, you can fit TWO books in ONE album!

Above: You can see is one book {or one side of the book}.
Below: You can see is the other book {or other side of the book}. 

This ABC Quiet Book is for the youngest little ones.
Find it here: ABC Quiet Book
LOVE this one about the Prophet & Apostles.  Includes pics when they were boys
Bright Idea printables from The Friend
Find it here.
Cute little Book of Christ
Find it here: Quiet Book of Christ
I like how this one has the Sacrament Prayer in it so they can follow along.
And the good ol' MormonAds from The New Era
Find it here.


Pin It!

Homemade Refried Beans


I made these for the first time this month.
These were soooo good!
I never want to buy canned refried beans again!!
Only trick is that they have to cook for 8 hours.  So, you have to plan ahead.
It is always nice to get recipes from others that they have tried out and know are good ones.
So, I thought I'd share.
Here is the recipe I used: Refried Beans without the Refry
The only change I make is that I use onion powder instead of actual onions.  
And this is ONLY because my husband can NOT stand onions!
Enjoy!


Pin It!

M&M Christmas Lesson


M&M Christmas Lesson

{yeah, yeah... I know this is a little late.  Pin it so you can save it for next year!!}

I work with the Mia Maids in my ward. 
We do everything with M&Ms! (since Mia Maids are M&Ms!)
When girls turn 14 and enter Mia Maids we M&M attach their house.
The girls this year got M&Ms in a light bulb jar for their birthday.
So, when I saw this from Ucreate, I thought "Yes! I'm totally using this!"
I used this M&M poem printable as the outline of my lesson.  Then, through thought and prayer, I decided what church materials to use in the lesson.  

This is the lesson I came up with:

These were my handouts/Christmas gifts:
 I used my favorite Chocolate Chip recipe, but instead of the Chocolate chips I used green & red M&M minis.  You could use regular sized Christmas M&Ms too.

I also used this recipe that I love for the Pretzel Hugs from eighteen25.


The girls loved it, they said they will never look at an M&M the same again! :)


Pin It!

Friday, December 7, 2012

Christmas Game: Pin the Nose on Rudolph!


I thought this would be a fun Christmas game for the kiddos!
I drew and painted a Rudolph on butcher paper. 
Cut out little red circles out of red construction paper {about 1.5 inches}
Then we're all set! Kids loved it!

 Let's just say she cheated on this one. :)
Fun game!
We will make sure this is in our Christmas Activity Advent Calendar every year!

Pin It!

Thursday, December 6, 2012

Rotel Dip


 This dip is AWESOME!
We would eat this dip at our friends The Hendrix's when we would have game night.
I HAD to get the recipe because it was so yummy!
Now, whenever I make it for a social gathering, people want the recipe.
My SIL texted me one night for it and said "I looked on your blog, but it wasn't there."
So, that gave me the idea that.....maybe it should be! :)

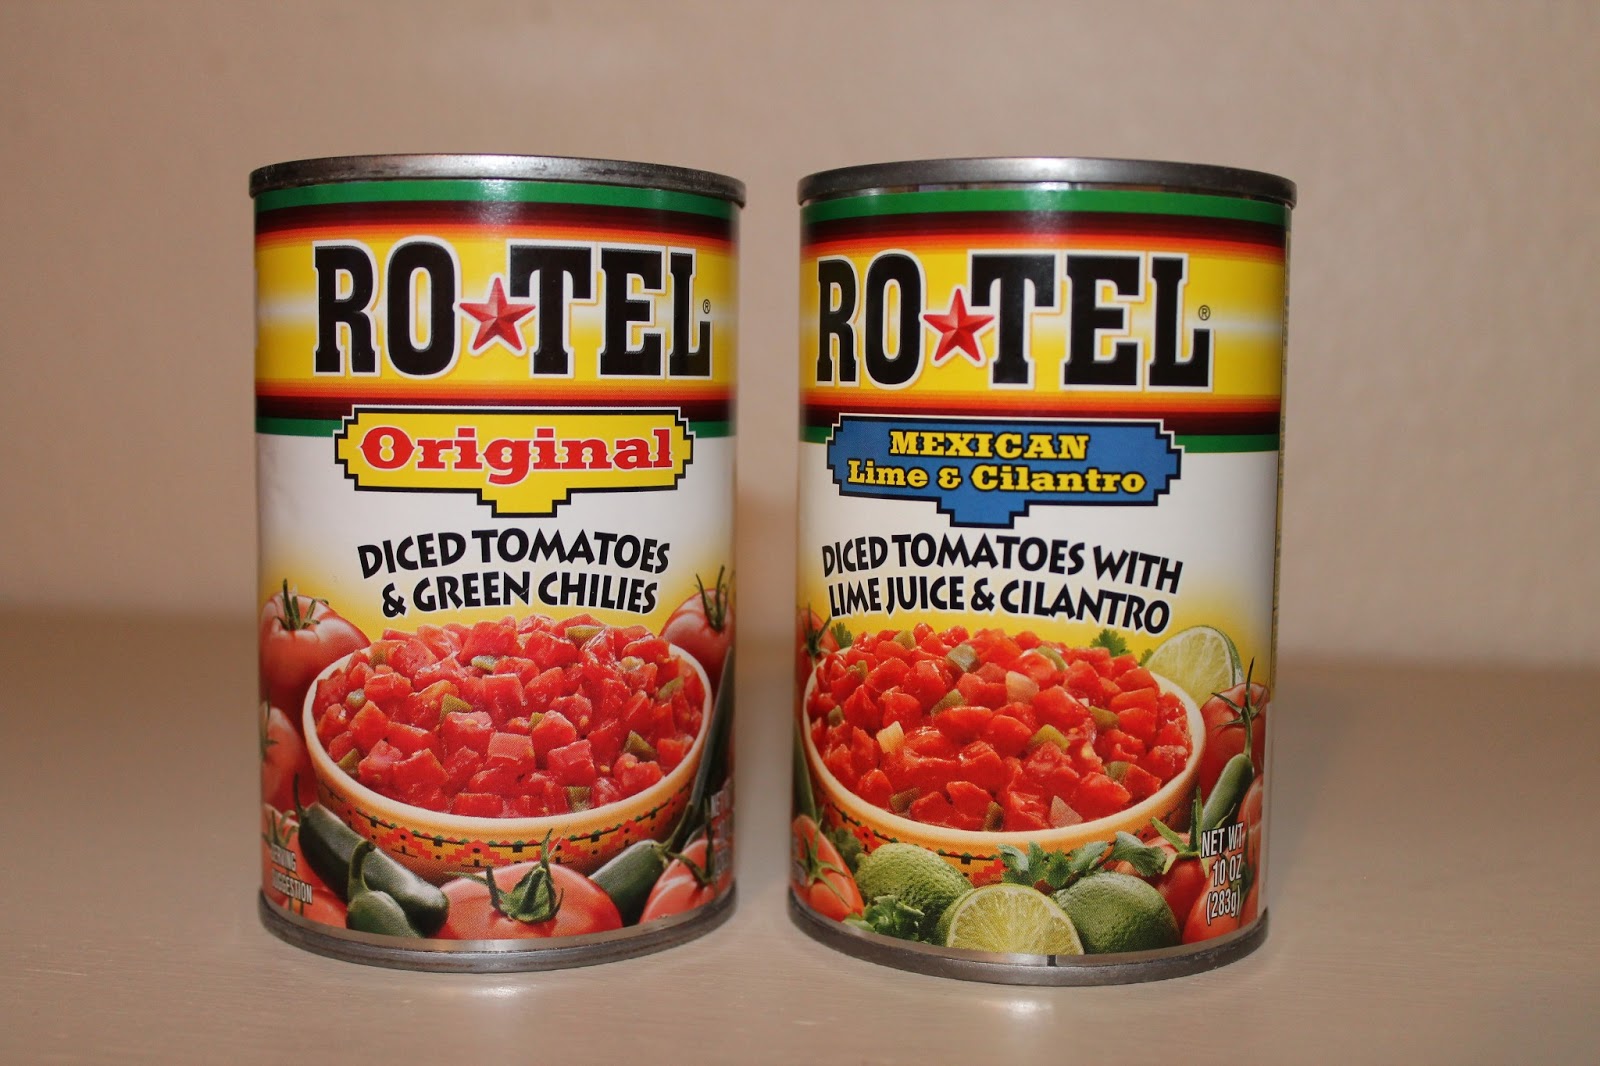
1 can of Original Rotel {my husband likes the Mexican Lime & Cilantro}
3 Avocados, Diced 
4 Roma Tomatoes, Diced
1 bunch Cilantro, finely chopped
1/2 cup mayo
Garlic Salt to taste

Enjoy with some tortilla chips!


Pin It!

Monday, December 3, 2012

Snack: "T" is for "Train Trail Mix"


We had snack when it was Letter T week.  She was going to have the kid's make Christmas candy trains.  So, this is what I came up with for snack that day:
Train Trail Mix!
 I bought the little containers at Dollar Tree {3 for $1}
I already had name badge labels, so I just typed these labels up to put on top.
You would be completely fine without them. :)
You can print my pdf file of them here.
I traced the red wheels using a cup.  Cut them out and taped them on!
Grabbed the engine of one of my kid's toy trains in their playroom and TaDa!
 Kid's loved them!

Pin It!